
Reviewed · LOS ANGELES BIKE & E-BIKE TOURS
Malibu: Electric-Assisted Mountain Bike Tour
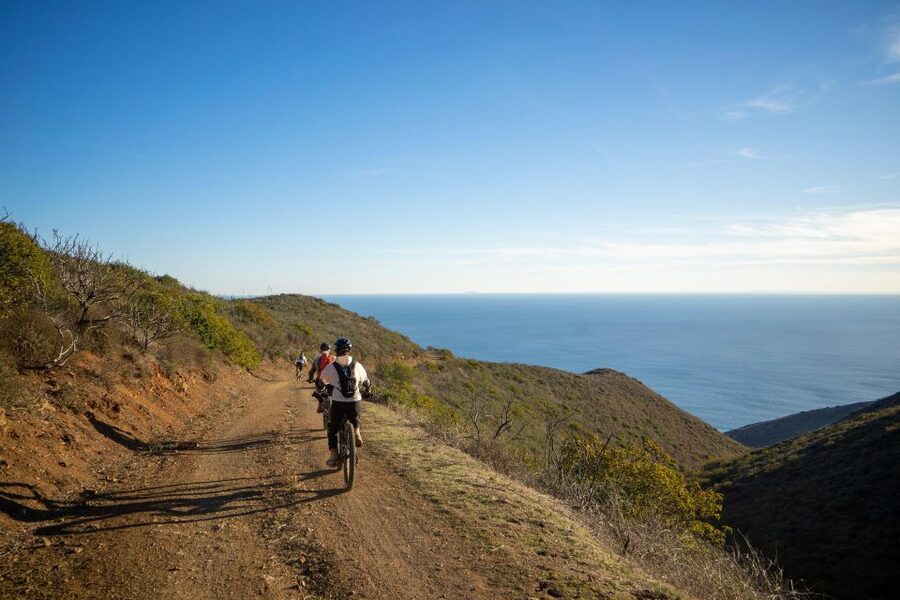
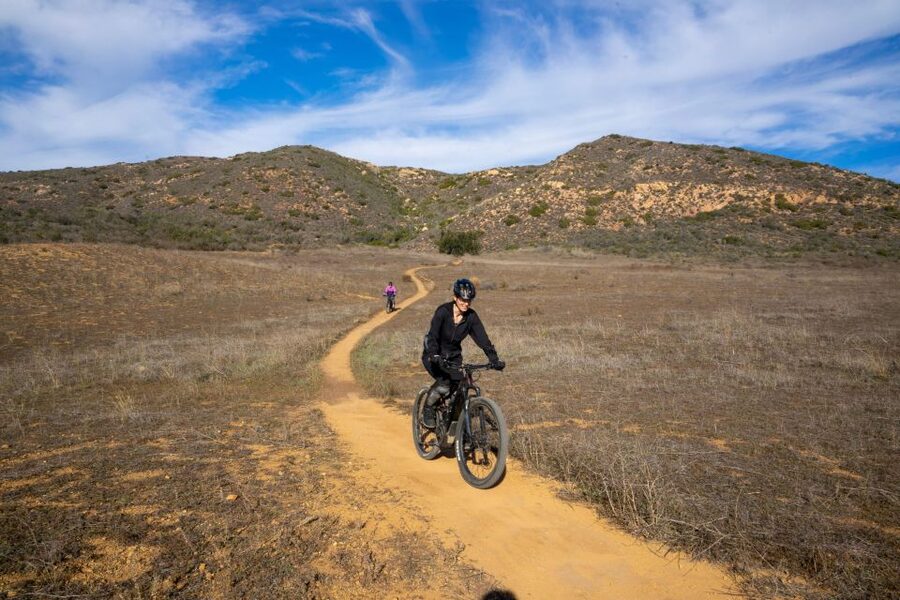
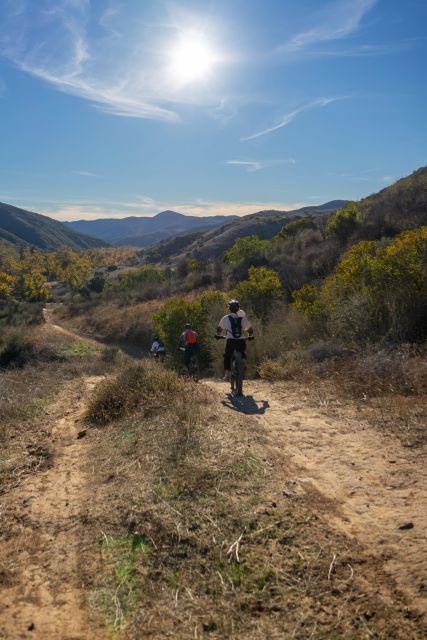
Malibu feels closer on an electric mountain bike. You’ll ride Giant full-suspension electric-assist bikes through the Santa Monica Mountains, with Smart Assist letting you choose how hard you want the workout to feel. It’s a loop ride designed for different comfort levels, yet still takes you to high, scenic places.
I especially liked the hands-on coaching at the start, and I liked that the pace stays adjustable on the fly. Guide Roger makes bike control feel simple, and the planned breaks at Malibu viewpoints are where the ride turns into real sightseeing. One thing to consider is that the route mixes loose rock, gravel, winding singletrack, plus ups and downs, so you’ll want solid basic bike handling before you show up.
Key Highlights You Will Notice Fast
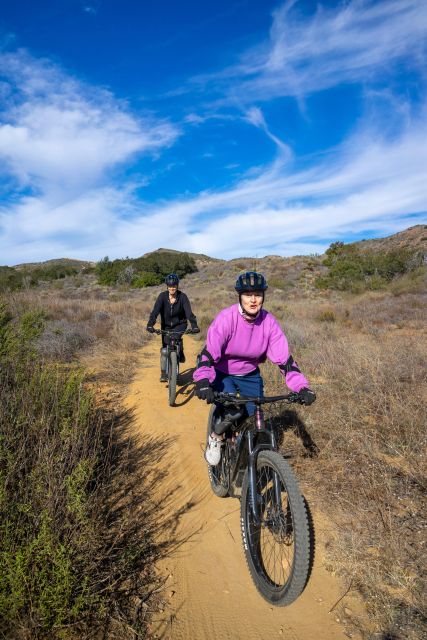
- Giant full-suspension electric-assist bikes that handle rough trail feel better than a typical commuter e-bike
- Smart Assist control so you can dial up power or lighten the effort as the terrain changes
- Small group with coaching (limited to 5 participants) for more attention and quicker confidence
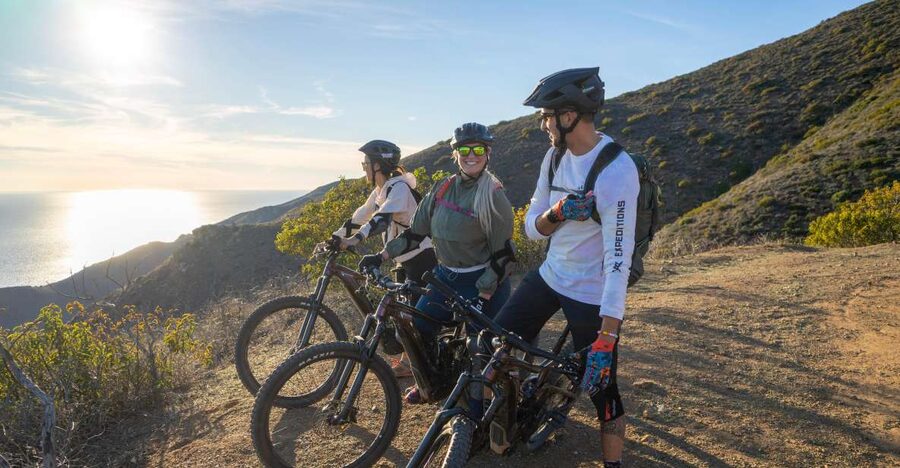
- Viewpoint breaks over Malibu coastline where the ride becomes a photo stop and a breather
- Terrain choices from fire roads to singletrack so your group can match energy levels
Why Electric-Assist Makes This Malibu Ride Feel Like Two Trips
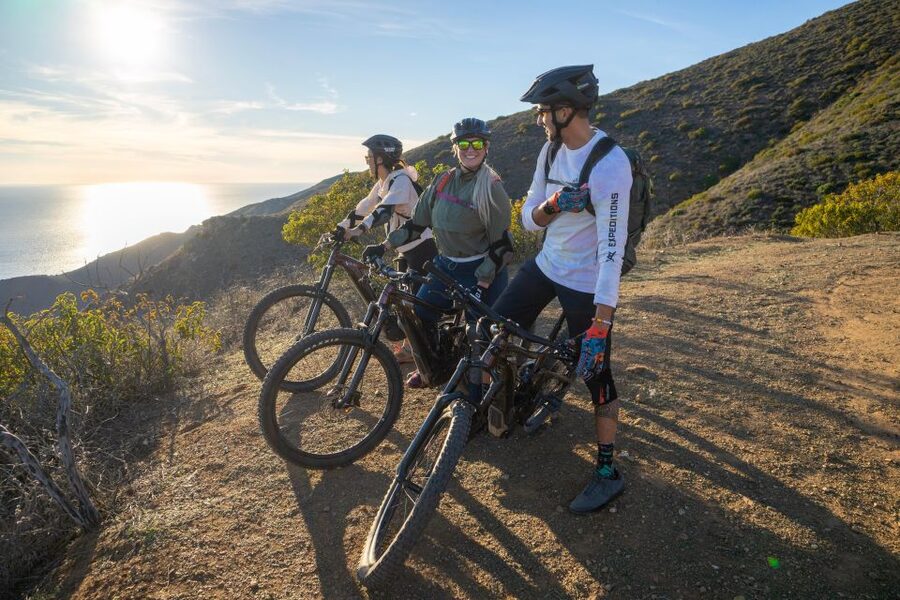
The Santa Monica Mountains are close to Los Angeles, which is great, but they also come with real hills and real trail surfaces. That is where electric-assist changes the whole equation. Instead of saving your legs for the steepest moment, you can keep moving through the ride’s variety, so you spend more time actually enjoying the scenery.
The bikes use Smart Assist technology, which means you can change assistance levels during the ride. If you want a smooth, steady climb, go higher on assist. If you want to feel more of the work, use a lighter setting. You’re not stuck with one effort level for the entire 150 minutes, and that matters when the route shifts between fire roads and singletrack.
You also get the best of both worlds: a sense of adventure, but without the constant fear of getting dropped on every uphill. For groups with different fitness levels, that flexibility is the difference between everyone having fun or everyone quietly negotiating who should push harder.
You can also read our reviews of more tours and experiences in Malibu.


Giant Full-Suspension E-Bikes, Real Safety Gear, and a Tight 5-Person Group
For $199 per person, you are paying for more than a bike rental. You’re getting a guided loop on high-performance Giant full-suspension electric mountain bikes, plus safety gear that is included.
Here’s what’s in your package:
- Electric assisted mountain bike rental
- Helmet
- Knee and elbow pads
- Gloves
That gear may not feel glamorous, but it is smart value. Mountain biking involves more trail chatter and more chance of a quick foot or knee bump, especially on uneven ground, gravel, or tight turns.
The small group limit (up to 5 participants) is also part of the value. With fewer people, you get clearer instructions, better pacing, and more attention if you are still figuring out bike handling or the assist feel. This is especially helpful if it is your first time on an electric-assist mountain bike.
The tour lasts 150 minutes, which is long enough to feel like you did something meaningful, but short enough that you can still head to other Malibu or Los Angeles plans afterward.
Meeting at the Yellow FJ Cruiser, Parking Ticket Included in the Plan
This tour is set up to be easy to find, as long as you follow the directions closely.
Meet your guide at the yellow FJ Cruiser in the parking lot. To get there:
- Enter the campground
- Make a left after the camping booth toward the day use area
- Pay for parking at the machine
- Display the parking ticket on your dashboard
If you are driving, do not skip the dashboard step. It is one of those small logistics moments that can turn into an unnecessary hassle if you forget it.
Getting Started With Technique Coaching, Not Just a Bike Handout
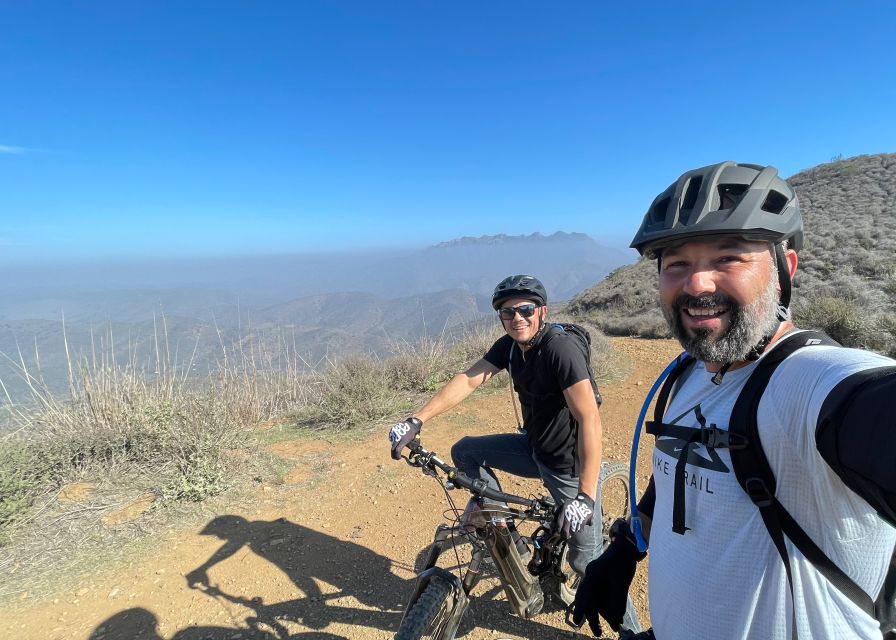
The best tours do two things: they move you through interesting terrain, and they teach you how to feel in control once things get uneven. This one starts with both.
Before you roll out, you get expert guidance on the bike and basic mountain biking techniques. That matters because the ride includes a mix of surfaces:
- loose rock
- gravel
- winding singletrack
- uphill and downhill sections
If you go into those conditions with only road-bike habits, you may tense up. With coaching, you learn what to focus on, like how to keep your line through a twisty section, how to handle changes in traction, and how to manage your speed instead of grabbing brakes at the last second.
From the experience notes, Roger is the kind of guide who helps first-timers get comfortable fast. The bike can feel powerful, but power without control is not the point. The goal is to get you riding smoothly so the views and the fun come through.
Sycamore Canyon Creeks to the Climb: The First Real Taste of Trail Variety
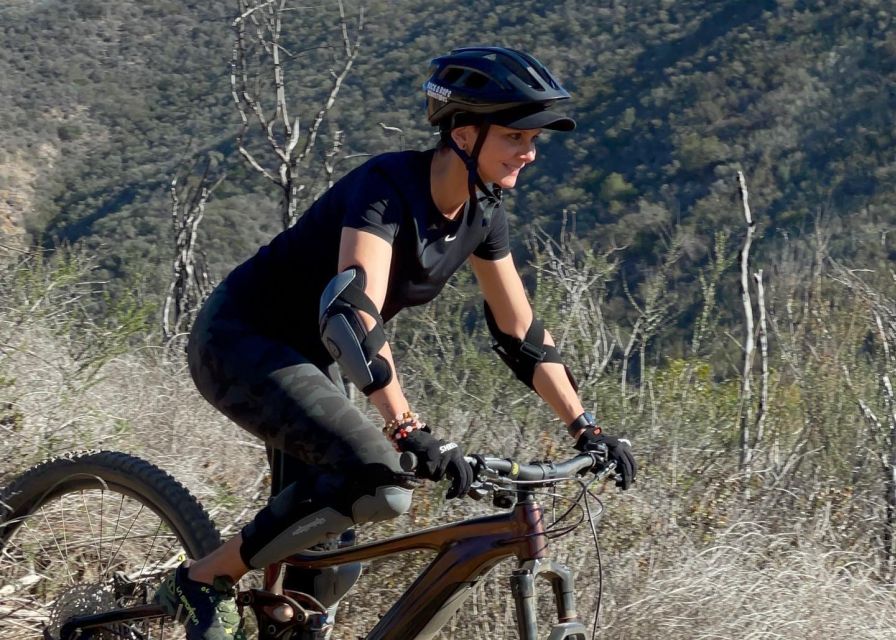
Once you start moving, expect the first portion to be all about warming up your legs and your sense of traction. One ride pattern begins with crossing creeks at the base of Sycamore Canyon. Even if it looks minor, creek crossings can change how your tires bite, and they force you to pay attention to balance.
Then comes the climb. This is where electric-assist earns its keep. You still do the work, but the assist helps you keep your rhythm as the trail rises. Instead of the climb becoming a slog, it becomes a transition into the part of the day where you get rewarded.
As you climb, the terrain shifts, and the guide can tailor the route options so your group stays comfortable. That customization is key because your pace will naturally vary. Smart Assist and guidance work together so the ride stays fun for people at different skill levels.


Malibu Viewpoints With Planned Breaks That Actually Matter
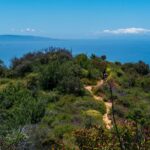
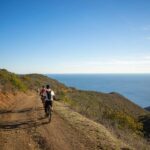
Mountain biking is not just movement, it is also timing. This tour builds in breaks at picturesque viewpoints so you can take in the Malibu coastline and the surrounding area without feeling like you missed the scenic moments.
Those stops are more than photo time. They give your body a reset, and they give you a chance to look ahead. When you can see what kind of descent or twisty section might come next, you ride with more confidence.
If you are someone who gets a little cautious on downhills, these breaks are the psychological support you want. You can watch others ride the line, then apply what you learned to your own turn.
And if you are more adventurous, the viewpoint breaks still help. They are where you transition from effort to enjoyment. You stop thinking only about traction and start thinking about the experience.
How You Choose Your Terrain: Fire Roads, Singletrack, and Peak Energy
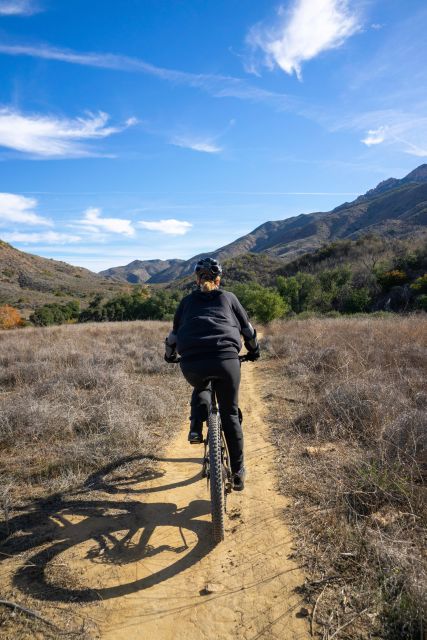
One of the most practical parts of this tour is that you can customize terrain options. The ride can include mellow fire roads, or it can include challenging single trails toward mountain peaks. That means you are not stuck with one template.
In real terms, this is how you can match the tour to your group:
- If your group is new or cautious, you can lean more fire roads and steadier grades
- If your group wants the full mountain-bike feeling, you can shift toward winding singletrack and steeper segments
The route may still include mixed terrain even when you choose an easier option. You can expect loose rock, gravel, and winding sections. The point is that your guide can steer the balance of difficulty so the ride feels like yours.
Also, because assistance is adjustable, you are not forced into a single riding style. You can use full power for smoother progress, then dial it back when the terrain becomes less intense.
Riding Tips for Mixed Trail Surfaces (So Your Ride Feels Smooth)
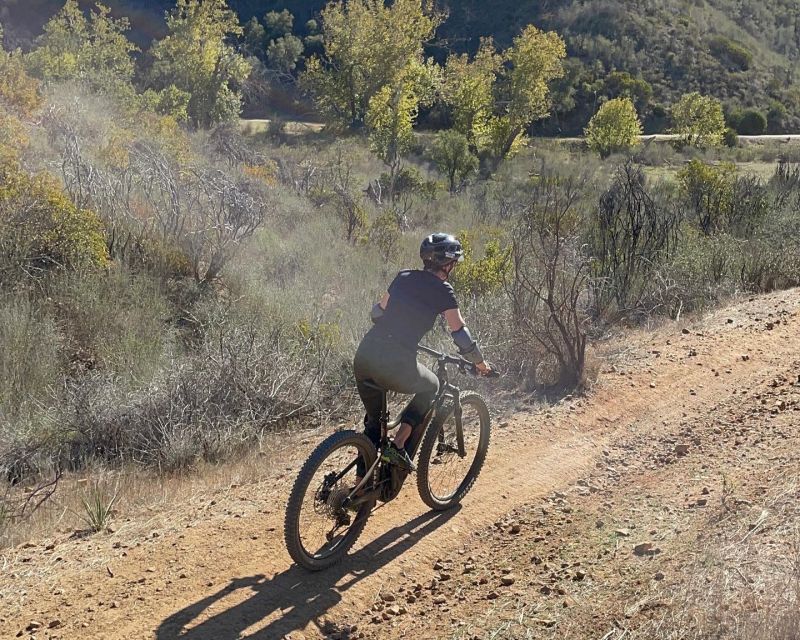
Even with coaching, you will enjoy this tour more if you show up with the right mindset. Mixed trail terrain asks for quick decisions. Here are practical things you can do so your day stays comfortable:
1) Use assist like a tool, not a crutch
Start with assistance that feels easy enough to stay relaxed. If you feel controlled, you can reduce assist to add a workout feel.
2) Treat gravel and loose rock like different physics
Gravel can slide, especially on turns and when braking. Keep your body centered and avoid sudden braking jerks.
3) Expect ups and downs to change your rhythm
When the trail pitches up, you may lean forward slightly to keep traction. When it pitches down, slow down early and ride smoother.
4) Keep your eyes up
If you stare at the tire, your line will suffer. Look through turns and toward the next section.
You do not need to be an expert. You just need to ride with attention, which is exactly why the pre-ride technique talk matters.
What to Bring, What to Wear, and Why You Should Not Skip the Basics
The tour is rain or shine, so plan for dry comfort when you can, and expect conditions to shift. Pack like a sensible mountain rider, not a casual sightseer.
Bring:
- sunglasses
- snacks
- sunscreen
- water
- long-sleeved shirt
- long pants
- closed-toe shoes
Also, eat something before you start. Even though electric-assist helps, this is still real riding. Bring snacks because the tour does not include food or drinks.
Wear long sleeves and long pants for trail contact, and use closed-toe shoes for grip and protection. Helmet and pads are included, but your clothing is your first line of comfort.
Who This Tour Fits, and Who Should Pass
This ride is designed to be friendly, but it is not for everyone.
It is suitable for all ability levels, but you should be able to ride a bike at a basic level. If you cannot comfortably balance, pedal, and steer, the trail mix (gravel, loose rock, winding singletrack) will feel stressful.
There is also a minimum rider height of 5 feet (150 cm). That matters because the rider position and bike fit are part of safe control.
Not suitable for:
- pregnant women
- wheelchair users
- people under 4 ft 9 in (150 cm)
If you are within the height range and you can ride a bike confidently on uneven surfaces for short stretches, you will likely enjoy the mix of coaching and scenery.
Price and Value: Why $199 for 150 Minutes Can Be a Good Deal
Let’s talk straight value. $199 can feel like a lot until you add up what is included.
You get:
- a guided tour with live English support
- a high-tech rental on a full-suspension electric mountain bike
- helmet, knee and elbow pads, and gloves
If you tried to piece it together yourself, you would still need gear, bike access, and instruction. Here, the guide is part of the cost, and the small group size adds even more value because your time with the instructor is not diluted.
Also, 150 minutes is a sweet spot. It is long enough to climb, descend, and see real viewpoints. It is not so long that you end up exhausted before the best views.
You are essentially buying access: access to Santa Monica Mountains trail experiences with far less friction than doing it on your own without local trail skills.
Should You Book This Malibu Electric Bike Tour?
I think this is a smart booking if you want a guided way to ride the Santa Monica Mountains, but you do not want to spend the whole day suffering uphill. The mix of Smart Assist, expert technique coaching, and viewpoint breaks is built for fun and confidence, not just movement.
Book it if:
- you want Malibu views without needing expert-level fitness
- you are curious about electric-assist mountain biking and want hands-on instruction from Roger
- your group has mixed skill or comfort levels
Skip it if:
- you are under the 5 feet minimum height
- you cannot ride a bike at a basic level
- you are looking for an easy paved ride only
If you want an outdoor day that still feels efficient, this tour is a strong choice.
FAQ
How long is the Malibu electric-assist mountain bike tour?
The tour duration is 150 minutes.
What is included in the $199 price?
The price includes the bike tour through the Santa Monica Mountains, electric assisted mountain bike rental, helmet, knee and elbow pads, and gloves.
Do I need prior mountain biking experience?
You should know how to ride a bike at a basic level. The tour is suitable for all ability levels, with expert guidance on mountain biking techniques.
What should I bring with me?
Bring sunglasses, snacks, sunscreen, water, a long-sleeved shirt, long pants, and closed-toe shoes.
Is there a minimum height requirement?
Yes. There is a minimum rider height of 5 feet (150 cm). The tour is not suitable for people under 4 ft 9 in (150 cm).
Where do I meet the guide?
Meet your guide at the yellow FJ cruiser in the parking lot. Enter the campground, make a left after the camping booth toward the day use area, and pay for parking at the machine while displaying the ticket on your dashboard.
More Tours in Malibu

More Tour Reviews in Malibu
Not for you? Here's more nearby things to do in Malibu we have reviewed
Los Angeles Bike & E-Bike Tours, compared.
 ★ 5.0The Ultimate LA Tour: Full Day Sightseeing Tour On Electric BikeFrom $214478 reviews
 ★ 5.0Small-Group Electric Bike Tour of Santa Monica and VeniceFrom $89458 reviews
 ★ 5.0Beverly Hills Tour: Movie Star Homes and LA Sightseeing by E-BikeFrom $114191 reviews
 ★ 5.0Hollywood Sign Electric Bike TourFrom $114166 reviews
 ★ 4.9Santa Monica and Venice eBike TourFrom $89139 reviews
 ★ 4.8Santa Monica: Bike and eBike Rentals with MapFrom $22128 reviews
 ★ 5.0Hollywood Sign: Scott E-Bike Tours Los Angeles Private TourFrom $12483 reviews
 ★ 5.0Scenic Malibu Overlook eMTB Experience (Beginner)From $16980 reviews
Browse the lists this tour appears in